
In this tutorial we’ll see how to restore the root password for CentOS in a very simple way.
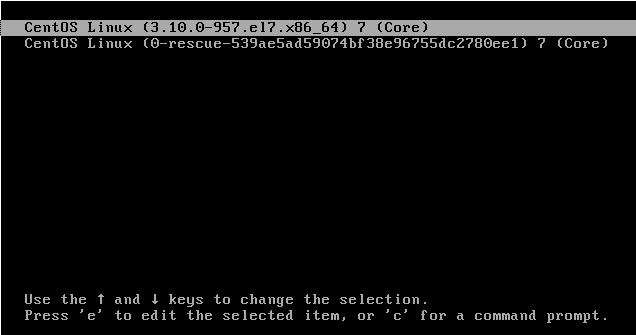
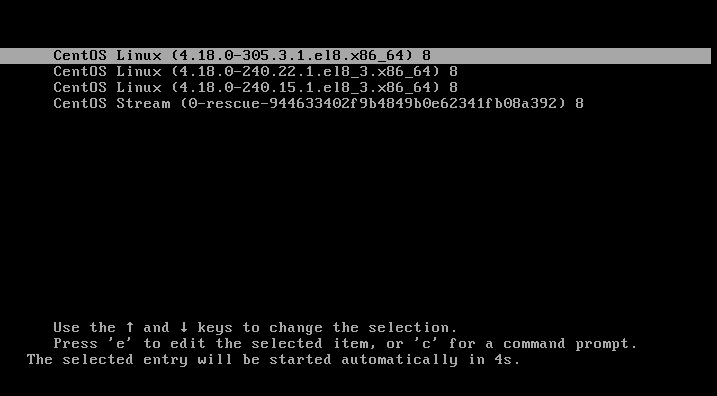
To reset your CentOS root password you’ll need to reboot or turn off your computer. Then turn on your computer and when GRUB starts press e to edit the rules and then press enter.
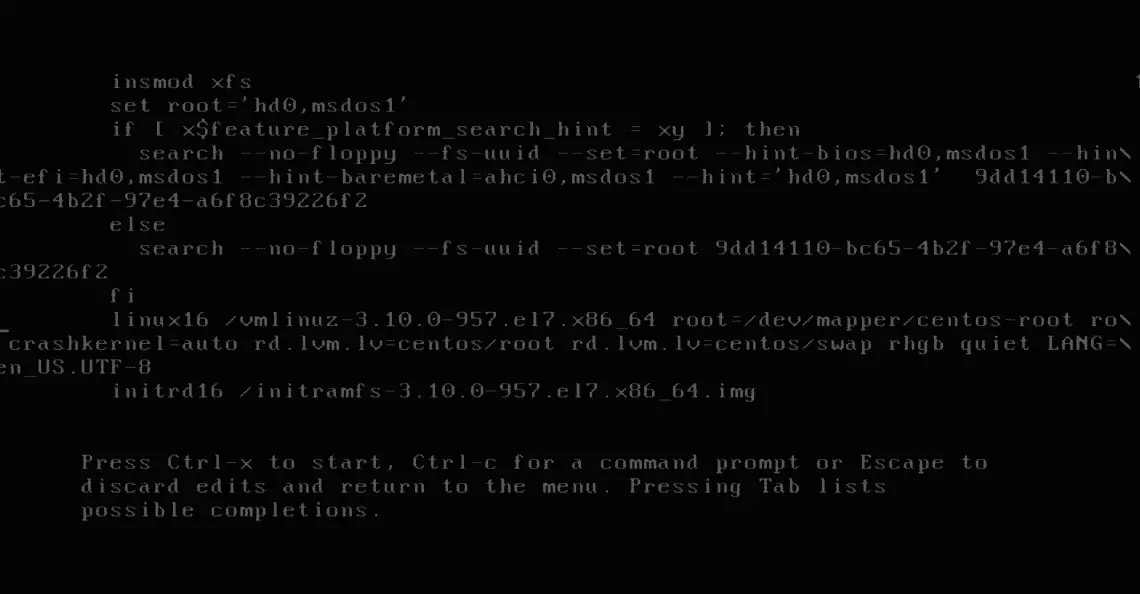
Scroll down and look for the line containing ro crashkernel=auto or just ro part.
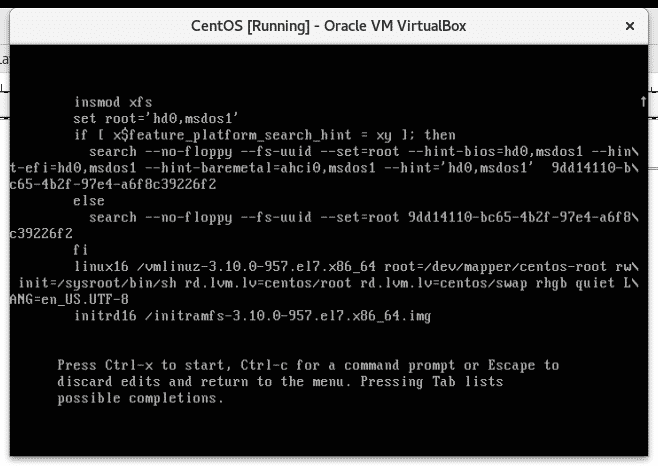
Replace ro crashkernel=auto or ro with rw init=/sysroot/bin/sh
Where:
ro = read only
rw = readable and writable
/sysroot/bin/ = OS system shell.
Make sure you edit the file properly otherwise the process will fail and you’ll need to repeat the previous steps.
Default file look:
The file must look like the screenshot below. After double checking you wrote it properly, press ctrl+x to save the changes.
Edited file look:
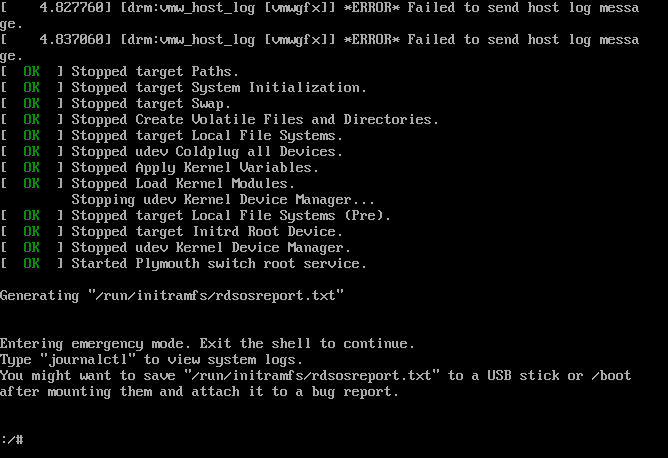
You’ ll get a root console from which you are able to set a new root password by running the commands below, make sure to set a password longer than 8 characters, don’t use weak passwords which may be included in brute force dictionaries or the OS may refuse it, combine numbers, characters and symbols to increase your security.
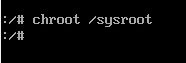
sysroot
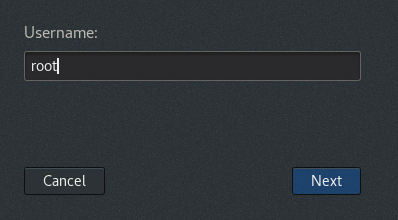
root
Set your new password
And then
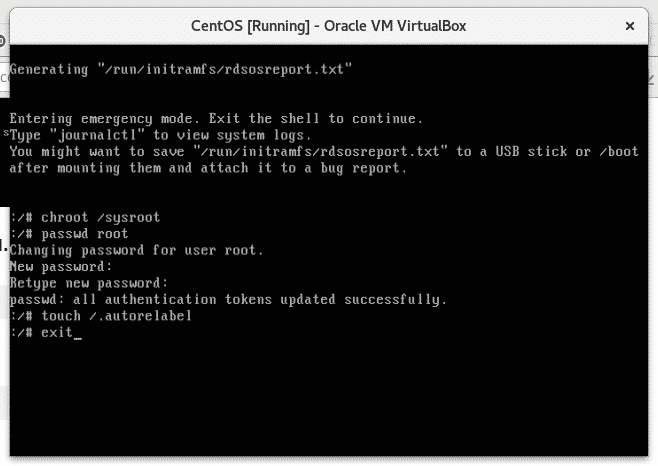
chroot /sysroot =access the OS.
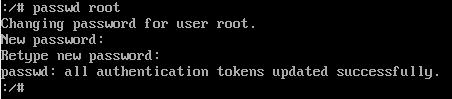
passwd root = reset root password.
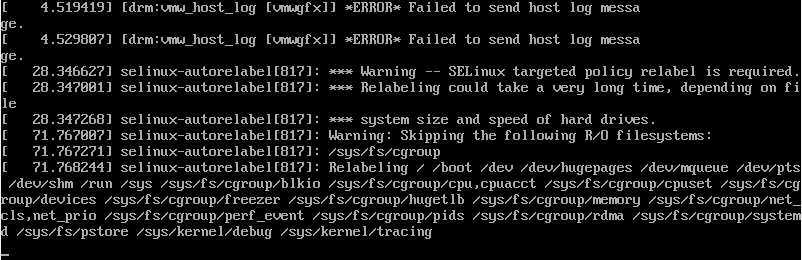
touch /.autorelabel = update selinux
exit = exit the OS
reboot
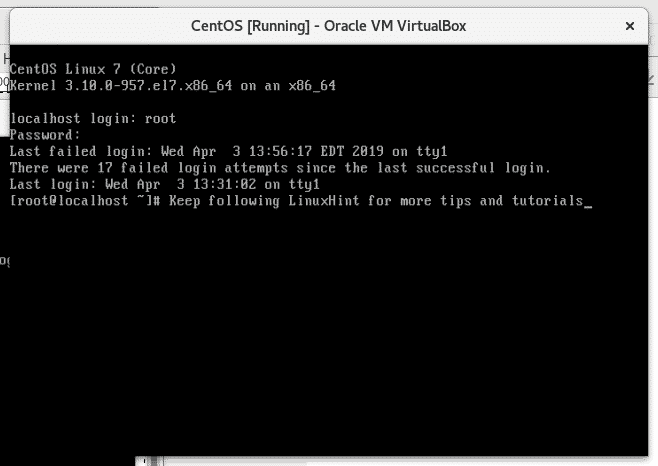
After restarting you will be able to login with the new password, now you can get back to work.
About the author
Resetting Forgotten Root Password
If you have forgotten your password and after trying a lot to remember your old password, you are still unable to get that. Do not worry; we can reset the root password from the GRUB Boot Menu.
For resetting the root password, first, reboot your computer.
When the system restarts, press the “ESC” key immediately to interrupt the boot process.
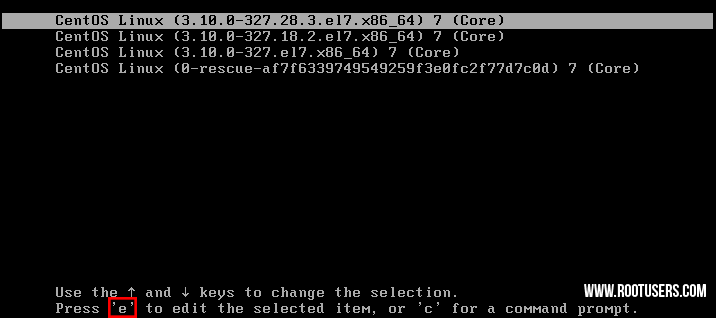
Select the kernel from the GRUB/Boot menu you want to boot into by pressing the arrow keys.

Pressing ‘e’ from your keyboard will open the editing menu.
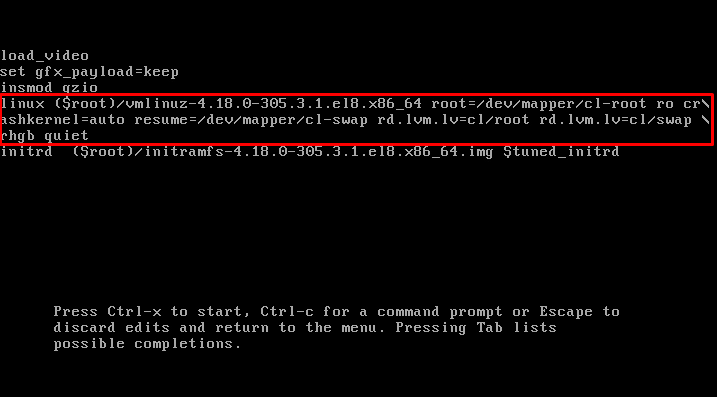
In the editing menu, locate the “ro” kernel parameter and replace it with “rw,” and add an additional parameter “init=/sysroot/bin/sh”:

Now run the “chroot /sysroot” command to convert the root file system in read and write mode:
You will now be able to change the root password.
To set a new password for root, input the command:

You will then be asked to input a new password and then confirm it. It is best to use a unique, complex, and complicated password that is easy to remember.


Once everything is changed and saved, reboot your computer by using the “reboot” command:

You may need to wait a few minutes to let the SELinux relabelling process complete.
Upon completion, the system will reboot, and the login screen will appear.
Resetting Root password from Terminal
If you need to reset your root password and know the current password, there is no need to do anything complex. Just fire up your CentOS 8 terminal and type the command given below:
Please do not select common words as your password.
Conclusion
In this article, we’ve learned how to reset a root password that is forgotten. Moreover, we also learned to set up a new root password if you remember your current password.
About the author
A Javascript Developer & Linux enthusiast with 4 years of industrial experience and proven know-how to combine creative and usability viewpoints resulting in world-class web applications. I have experience working with Vue, React & Node.js & currently working on article writing and video creation.
Posted by
on September 14, 2016
Normally resetting the root password is a simple task if you’re logged in already with root privileges, however if you forget the password and need to change it things become a little more difficult.
This is also a task that you will need to know how to perform for the RHCSA exam.
This procedure will be completed in the console of the Linux system, so be sure that you have access to this prior to beginning. As with all system maintenance tasks, be sure you have a system backup/snapshot prior to proceeding.
- If your Linux system is currently running, reboot it. If it is not yet running, start it up. At the boot menu, press the ‘e’ key to edit the first boot entry.
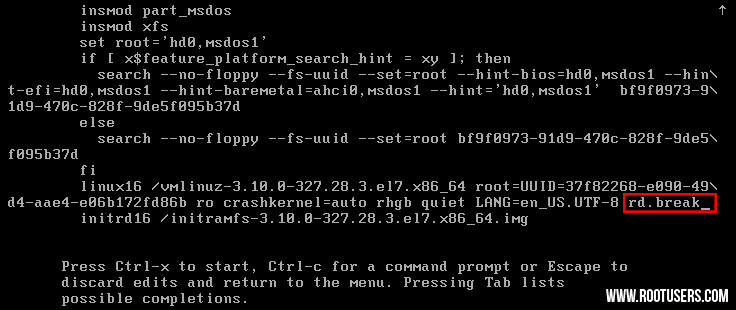
- From the grub options, find the line that starts with “linux16” and go to the end of it. Enter ‘rd.break’ without quotes at the end of this line, as shown below.
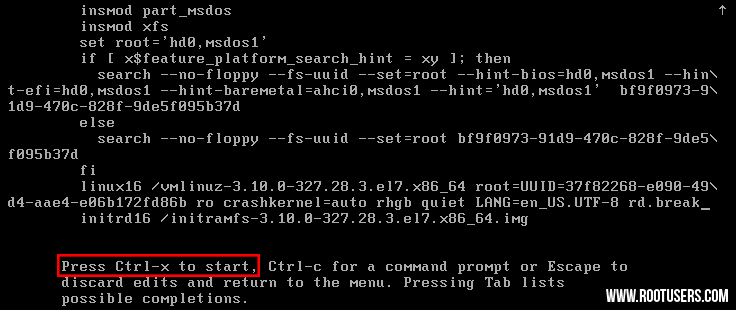
- Press “Ctrl+x” to boot with these options. This will boot to the initramfs prompt with a root shell.
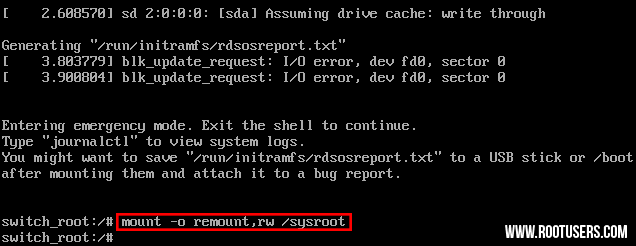
- At this stage, the root file system is mounted in read only mode to /sysroot and must be remounted with read/write (rw) permissions in order for us to actually make any changes. This is done with the ‘mount -o remount,rw /sysroot’ command.
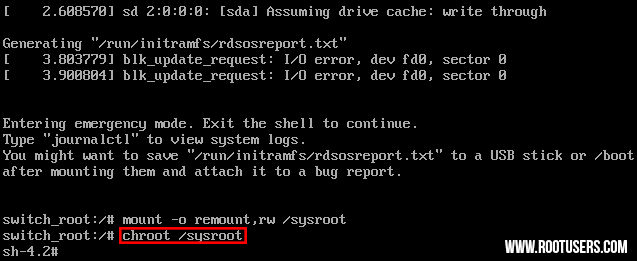
- Once the file system has been remounted, change into a chroot jail so that /sysroot is used as the root of the file system. This is required so that any further commands we run will be in regards to /sysroot. This is done by running ‘chroot /sysroot’.
- From here the root password can be reset with the ‘passwd’ command.

- If you’re not using SELinux, you could reboot at this point and everything would be fine, however by default CentOS/RHEL 7 use SELinux in enforcing mode, so we need to fix the context of the /etc/shadow file. This is because when the ‘passwd’ command is run, it creates a new /etc/shadow file. As SELinux is not running in this mode the file is created with no SELinux contexts, which can cause problems when we reboot. Create the /.autorelabel command using ‘touch’.

Creating this file will automatically perform a relabel of all files on next boot. Note that this may take some time depending on the amount of files you have on the file system. For a plain vanilla CentOS 7 server, it takes me about 2 minutes to complete.
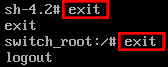
- Enter the ‘exit’ command twice, the first one will exit the chroot jail environment while the second will exit the initramfs root shell and reboot the system.
Once the reboot has completed you will be able to use the root account with your newly set password.
Data is precious. Some people are even calling it the new Gold. It is essential to change your password from time to time to ensure that your data remains protected from malicious activities. Most people only have a single password for everything, and they use it for years which is an unsafe practice and can expose them to dangerous cybercrimes like identity theft. When setting a password, one should always ensure to set a unique and strong password.This article will present an extensive guide on changing your password on CentOS 8 operating system by using two different methods.
- Through GUI
- Through Terminal
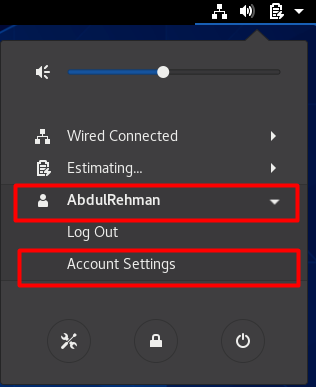
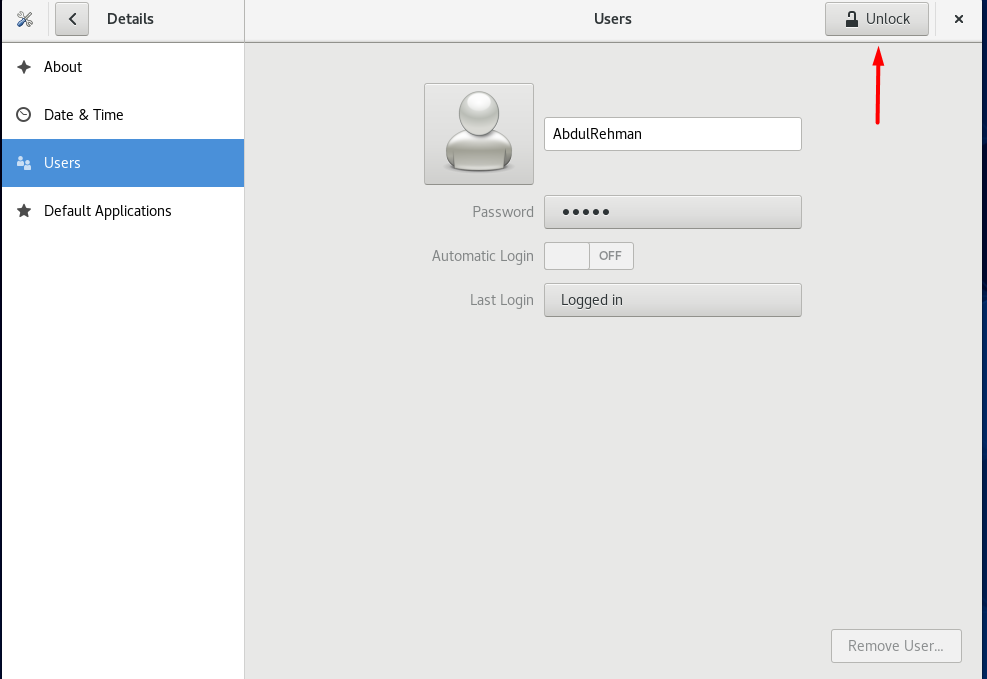
Method 1: Changing the User Password through GUI
Step 1: First, open the dropdown menu from the top right corner:

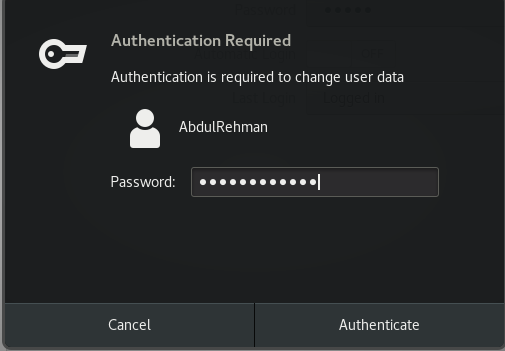
Step 6: It will open a new window, where you can enter your current password to confirm and the new password that you want to set:
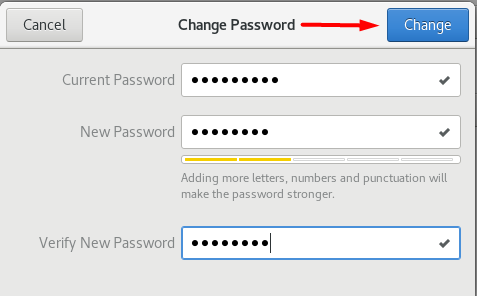
After entering your passwords, click on the change button on the window’s top right corner, as highlighted in the above screenshot.
Congratulations! Your password has been changed successfully using the GUI of CentOS. From here on out, you will have to use the new password to login into your account.
Method 2: Changing the User Password through Terminal
When you are using a CentOS 8 server only without a GUI, and you only have access to the terminal of the CentOS 8 Operating system, then the GUI method won’t work. We have to change the password using the terminal, and we can do so easily.
Step 1: First of all, open up the terminal of the CentOS 8 Operating system from the application menu.
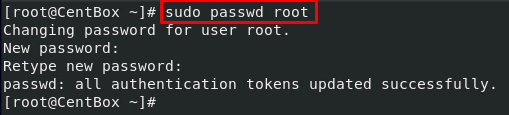
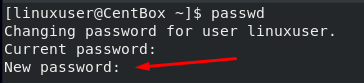
Step 2: In the terminal, type the “passwd” command and press Enter to change the password:
You will be asked to input your current password:

If you have entered the correct, current password, it will ask you to input your new password:
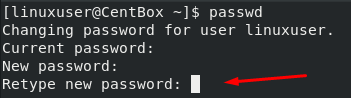
Once you entered the new password that you want to set, it will ask you to confirm your new password:
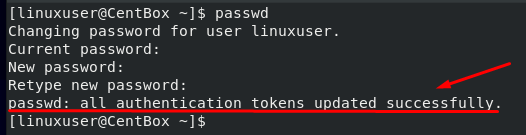
The password will get changed if both passwords match, and a success message will appear on the terminal.
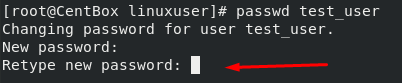
How to change another user’s Password in CentOS

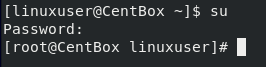

The terminal will directly ask you to input the new password and confirm the new password:
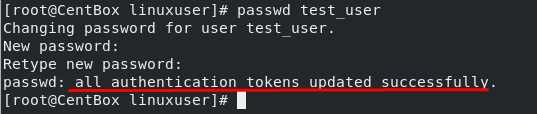
You will get a success message:
Conclusion
As mentioned above, Data protection is a modern-day necessity. Data is now being labeled as a valuable commodity. Nowadays, it has become an absolute must to use unique, complicated, and strong passwords to protect your data.
About the author
A Javascript Developer & Linux enthusiast with 4 years of industrial experience and proven know-how to combine creative and usability viewpoints resulting in world-class web applications. I have experience working with Vue, React & Node.js & currently working on article writing and video creation.
Summary
As shown we can reset the root password in Linux CentOS/RHEL 7 by booting with the ‘rd.break’ option, remounting the file system with read/write privileges, creating a chroot jail, executing the passwd command and then finally fixing up SELinux contexts.
After exiting the chroot and the initramfs root shell prompt the file system will be relabelled which may take a few minutes or more depending on the number of files you have. When your system has booted back up you’ll be able to use the new root password.
")


")