

SSH root login is disabled by default in Ubuntu 18.04. SSH server for Ubuntu provides by the openssh-server package and root login is controlled by the PermitRootLogin directive in the OpenSSH server configuration (sshd_config file):
grep -i «rootlogin» /etc/ssh/sshd_config
Root login is disabled, if the PermitRootLogin directive is commented out (# in front) or its value is not set to yes.

Next: Change Ubuntu SSH Port
First the option «PermitRootLogin without-password» does not do what you think it does. This option does not allow you to log in without a password, it allows you to log in as root via any method other then password authentication.
Typically this would be ssh keys, but could include other methods such as kerberos.
Second, I highly suggest you continue to login as root with a key with a password. If you do not want to enter a password every time, add it to ssh agent. On the command line this would be ssh-add ~/.ssh/key_name. This is a one time entry of your key password and subsequently you do not need to enter a password.
After the above command you can simply
If you want a key without a password , make a new key with an empty password on the client machine.
When it asks you for a password, just hit the Enter key without entering a password.
I suggest you give it a name rather then using the default.
You transfer the key with ssh-copy-id (you will need to log in to the server as root with a password to transfer the key).
You can then ssh in without a password
Once the key is working, go ahead and disable password authentication again.
In this article you will learn How to Allow SSH Root Login on Ubuntu 20.04 LTS Linux step by step.

But root SSH login can be enabled by editing OpenSSH daemon (sshd) configuration.
WARNING! Using SSH root login is a bad idea!
Step 1
$ vim /etc/ssh/sshd_config
Step 2
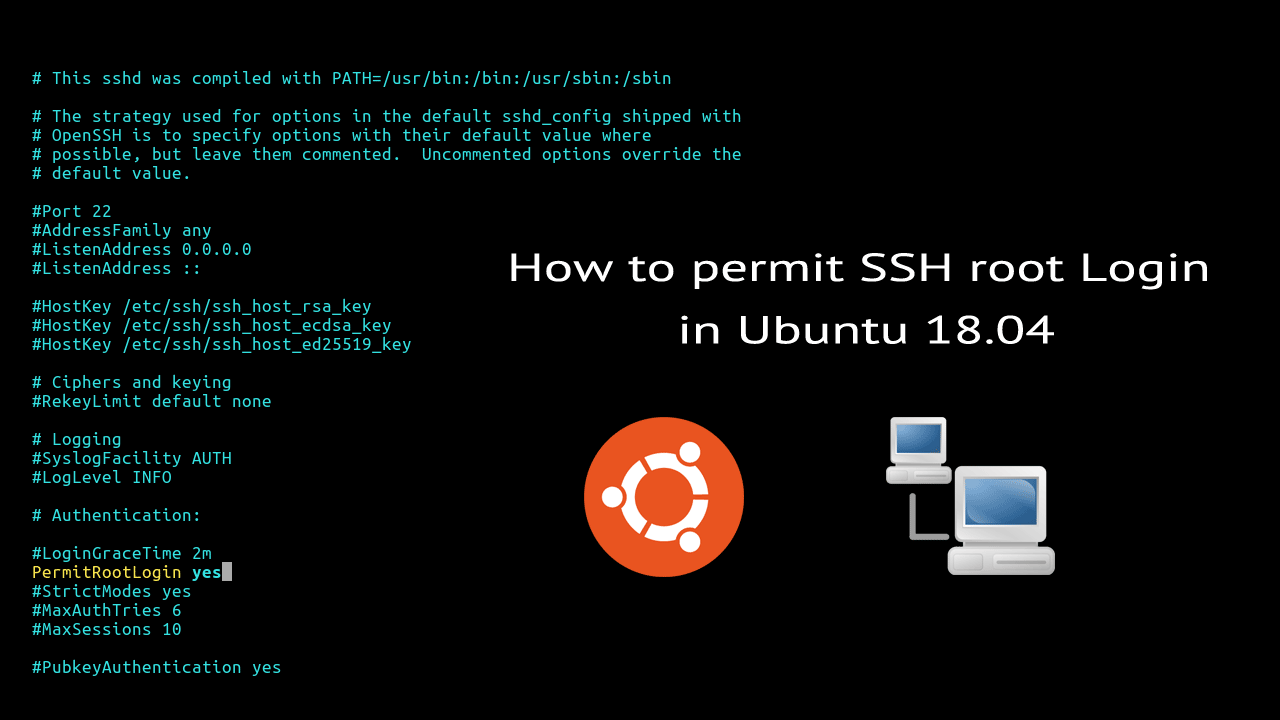
Find commented PermitRootLogin parameter or manually add
As shown on image:

Step 3
After finish editing configuration file save and close it.
For the changes to take effect, you must restart sshd daemon.
$ sudo systemctl restart ssh
Step 4
Now we need set password for the root with using passwd command:
$ sudo passwd root
$ sudo passwd root
New password:
Retype new password:
passwd: password updated successfully
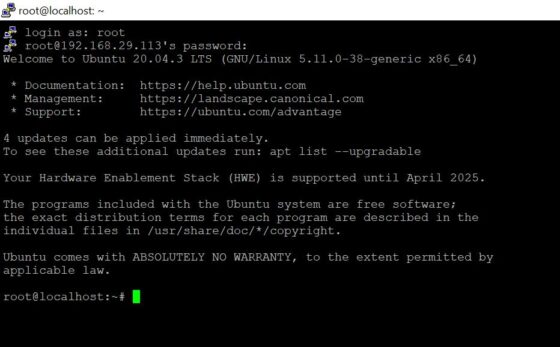
Now you will be able SSH login as root to your Ubuntu server
Conclusion
Enable SSH Root Login on Ubuntu
To enable Root Login on Ubuntu edit sshd daemon configuration PermitRootLogin parameter to:
1. PermitRootLogin yes2. Save changes3. Restart sshd daemon4. Set password for the root with using passwd command
Discuss article in ArsTech Forum
Read also: How To Setup SSH: Public Key Authentication On Linux
If you like what you are reading, please
Buy me a coffee

Best Steps to Install Perl on Rocky Linux 8
Prerequisites
a) You should have a running Ubuntu 20.04 LTS System.
b) You should have sudo or root access to run privileged commands.
c) You should have OpenSSH Server installed in your System.
For that you need to open /etc/ssh/sshd_config file using our favorite nano editor and then set the parameter value to yes. Then Press Ctrl+X and give Y to save and close the file.
Restart SSH service
After setting the parameter, you need to restart ssh service by using systemctl restart ssh command as shown below.
Then check the service status by using systemctl status ssh command. It should show as active and running as you can see below.
Login with root
Reset root password(Optional)
In this tutorial, I will take you through the steps to configure openssh server on RedHat/CentOS 7 machine. OpenSSH is a free and most popular open source package used in almost all kind of Linux Servers for remote Login using SSH Protocol. It provides an encrypted layer to secure all the communication between SSH Server and SSH Client. This further helps in eliminating eavesdropping, connection hijacking, and other attacks. More on Openssh Official website.

13 Useful tune2fs Commands to Manage Ext2/Ext3/Ext4 Filesystem
a) You should have a running RHEL/CentOS 7/8 Server.
b) You should have root or sudo access to run all the privileged commands.
c) You should have network connection available to connect and download packages from Repo.
d) You should have yum utility installed in your Server.
Install OpenSSH Server
Usually, OpenSSH Server and Client packages are installed during Server building but in case if you don’t have it installed then you can quickly install it from Repo using yum install -y openssh-server openssh-clients command. This command should install both Server and Client packages.
After successful installation, you will see a configuration file sshd_config available under /etc/ssh path. You can set all the required parameters from this configuration and then start or restart the sshd service to reflect the changes.
Configure X11 Forwarding
By default, ssh does not allow root login authentication. If you want to allow root login through SSH Port, then you need to set PermitRootLogin to yes as shown below.
Configure LogLevel
Another Useful option that you can set from sshd_config file is LogLevel. It basically provides different level of verbosity to log messages. Possible values of LogLevel are: QUIET, FATAL, ERROR, INFO, VERBOSE, DEBUG, DEBUG1, DEBUG2, and DEBUG3. It is always recommended to set LogLevel to verbose. This will enable the fingerprint for any ssh key used for login to get logged.
Configure SSH Port
If you want to change the port number from default port 22, then you can change it from here where you can specify a different SSH Port. As of now we are keeping it to default Port 22.
Start and Enable SSH Service
Once SSH Service is configured, you can start it by using systemctl start sshd command and then enable it by using systemctl enable sshd. If everything goes well, you will be able to see success status by using systemctl status sshd command. In case, if you change any configuration from sshd_config file then you need to restart the service once by systemctl restart sshd command.
")


")